How to Stain a Wooden Fence Like a Pro
How to Stain a Wooden Fence Like a Pro
Wooden fences not only add character and charm to your garden but also serve an important practical purpose. However, without proper maintenance, your wooden fence can quickly lose its appeal and durability. One of the best ways to keep your wooden fence looking great and protected from the elements is by staining it.
Whether you're a gardening enthusiast, a DIY homeowner, or a home improvement buff, this step-by-step guide will walk you through how to stain a wooden fence. And if your fence needs repairs before staining, we’ve also got a great local recommendation for you.
Why Stain Your Wooden Fence?
Before we dig into the how-to, it’s worth understanding why staining your wooden fence is essential:
- Protects Against Weather: Staining creates a barrier against moisture, UV rays, and harsh weather conditions, extending your fence's lifespan.
- Prevents Rot and Mold: Wood is vulnerable to rot and mold, especially in wet conditions. Stain helps repel water and prevents fungal growth.
- Enhances Appearance: A fresh stain not only enriches the natural beauty of the wood but also adds a polished, well-maintained appearance.
- Saves Money: Properly maintaining your fence means you won’t need to replace it as often.
Tools and Materials You’ll Need
Before you get started, gather all the tools and materials you’ll need for the project:
- High-quality wood stain (choose between semi-transparent, transparent, or solid stains)
- Wood cleaner (if necessary)
- Sandpaper or a sanding block
- A paintbrush, stain pad, or a sprayer
- A tarp or drop cloth for protecting surrounding areas
- Protective gloves and clothing
- A ladder (if your fence is tall)
Step-by-Step Guide to Staining Your Wooden Fence
Step 1: Inspect and Repair Your Fence
Before you stain, inspect your fence for any damage such as cracks, rot, or loose boards. Repair anything that might affect the final result.
If you need help repairing or replacing your wooden fence in Hamilton,
Davis Fences is just a call away. They specialize in fence repairs and installations. Contact them at
905-643-9933 to get started!
Step 2: Clean the Fence
Cleaning is a crucial step to remove dirt, grime, or mildew that can prevent the stain from adhering properly. Use a specially formulated wood cleaner or a power washer at a low-pressure setting. Allow your fence to dry completely before moving on to the next step.
Step 3: Sand for a Smooth Finish
If the wood feels rough, sand it lightly with sandpaper or a sanding block. Sanding opens up the wood grain, allowing the stain to penetrate better and achieve an even finish.
Step 4: Choose the Right Stain
The type of stain you choose will affect the look and durability of your fence:
- Transparent Stain: Keeps the natural wood grain visible while providing light protection.
- Semi-Transparent Stain: Offers more color options while still showing the wood grain.
- Solid Stain: Provides maximum protection and full color coverage, but hides the wood grain completely.
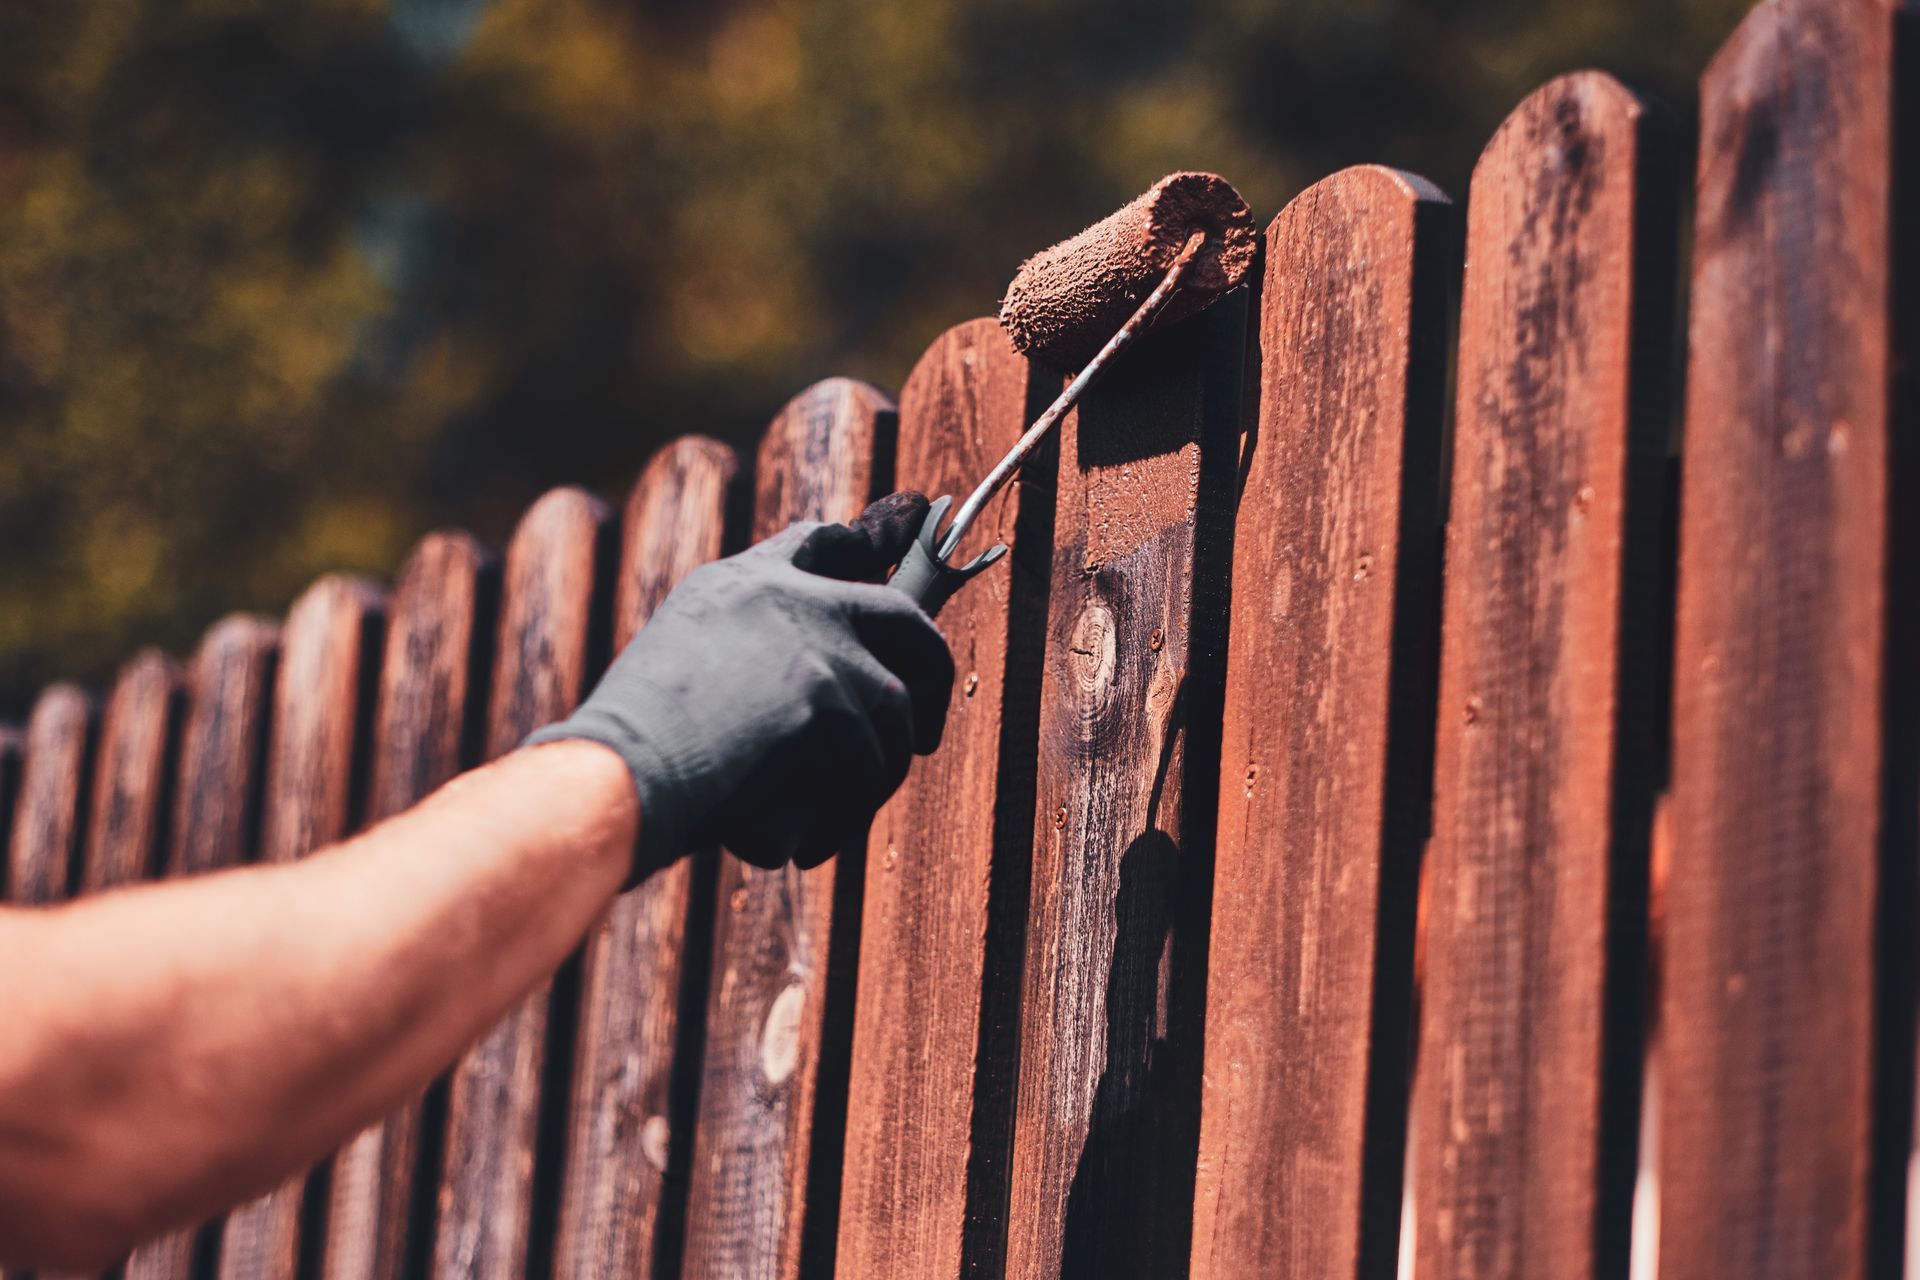
Step 5: Apply the Stain
Now for the fun part! Apply the stain using a paintbrush, stain pad, or sprayer. Work in small sections to ensure even application. Always work with the grain of the wood, and avoid letting the stain pool or drip.
If you're using a sprayer, follow it up with a brush to even out any uneven spots.
Step 6: Allow the Stain to Dry
Once you’ve stained the entire fence, allow it to dry completely. Check the manufacturer’s instructions on your chosen stain for the recommended drying time.
Step 7 (Optional): Apply a Second Coat
For additional protection or a richer color, you can apply a second coat of stain after the first coat has dried.
Bonus Tip: Maintain Your Fence Regularly
Staining is only part of the equation. Regular maintenance is key to keeping your wooden fence in tip-top shape:
- Clean it annually to remove dirt and mildew.
- Re-stain every two to three years to maintain its protective barrier.
- Inspect for damage after harsh weather conditions and make potential repairs promptly.
Need Professional Help? Call Davis Fences!
If staining isn’t enough to restore your fence or you need a brand-new one, Davis Fences in Hamilton can help! With their expertise in fence repair and installation, they’ll make sure your outdoor space looks its best.
Give Davis Fences a call at 905-643-9933 to discuss your needs. Whether it’s a quick fix, a total replacement, or a brand-new installation, they’ve got you covered.
Staining your wooden fence is a rewarding DIY project that enhances your yard's functionality and aesthetic appeal. With the tips outlined here, you can protect your investment and enjoy a beautiful fence for years to come.
Remember, if you're in Hamilton and need professional help before taking on the staining process, don’t hesitate to reach out to Davis Fences.
Happy staining!